29 May Quick Start LC Net Plus
How Can We Help?
Thank you for choosing Sunrise LED. Let’s get started.
Here are some quick steps to set up your display….
• First go to your available networks icon located at the bottom of your screen.
• Click on the SunriseLED-OS wireless connection
• You will use the default password of sunriseled
• Next, click on LC-net plus software
• Choose “load screen setting from file”
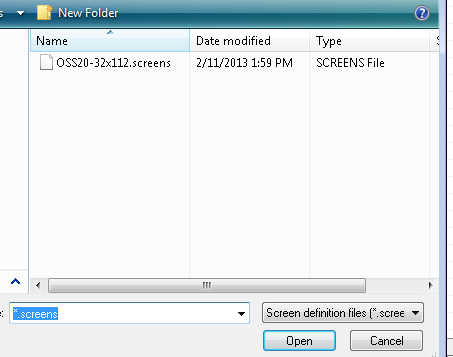
• From the browser, locate and click to open the preset configuration on your CD
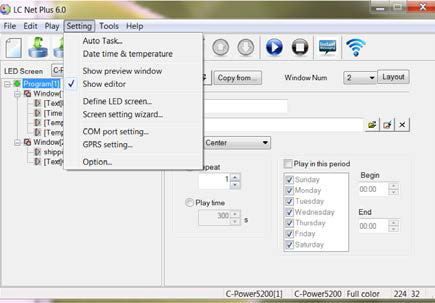
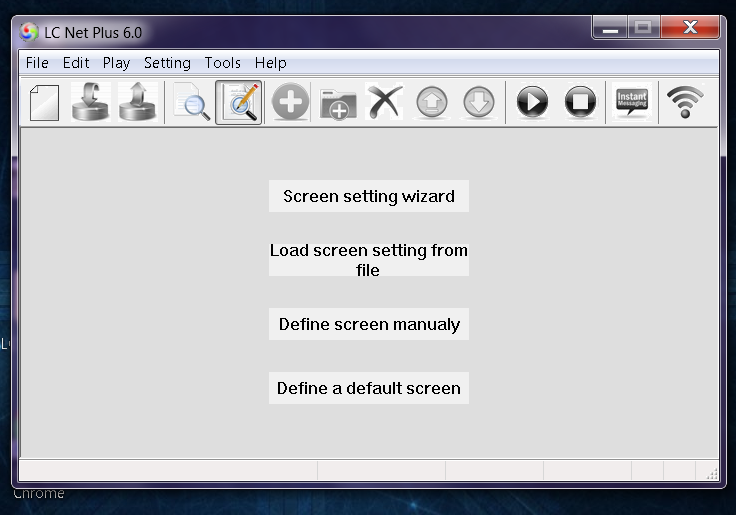 (You can also manage this step by going directly to editor’s screen. Click on SETTING, choose to” define LED screen from the drop down menu; click the “Open file icon” located at the bottom of your screen. Then browse the CD, choose Screen setting file with (.SCREEN) extension and click open and load the settings)
• Find a (sign model name).screen from CD provided by SunRise LED.
Creating your messages…
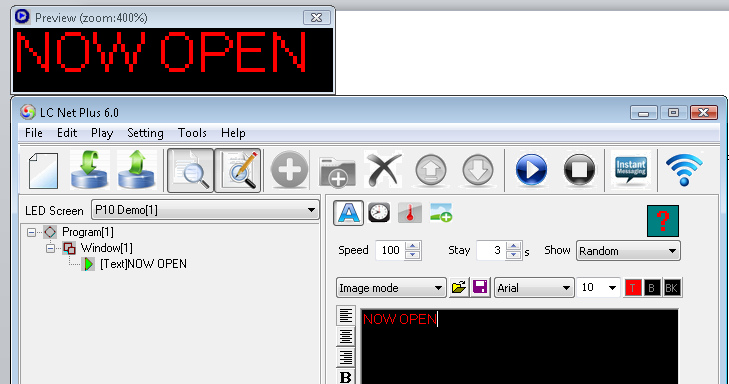
Creating a window
- Each program consists of up to 10 windows
- Each window consists of multiple play items
- These play items could be:
- Text
- Time and Date
- Temperature
- Graphics
Each program can have its own play time and date, and can be saved for future use.
Once you’ve completed the configuration you will return to the editor’s screen to test the configuration. Simply click on the “send data icon”  and “send to current” to test the connection to your sign.


• In your program you can set your playtime by date, time, repeat, start time and/or finish time.
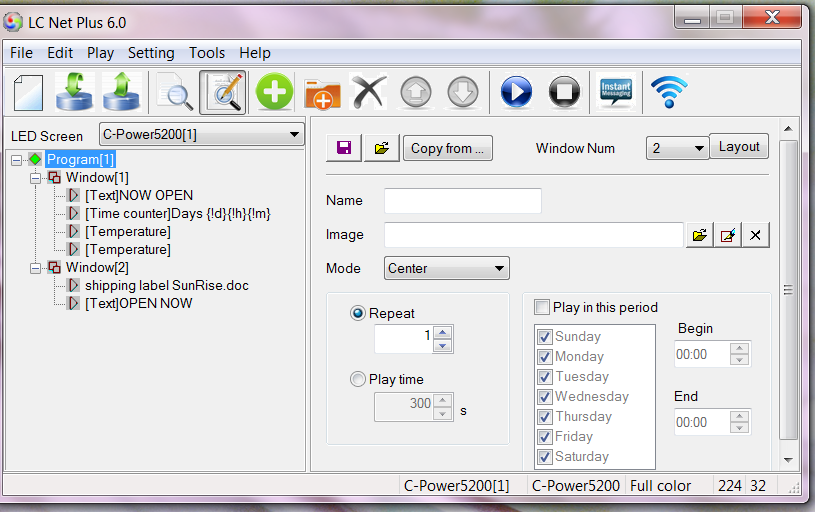
• In your window you can create a border, size of your window and playback, such as loop, still or hide your message.
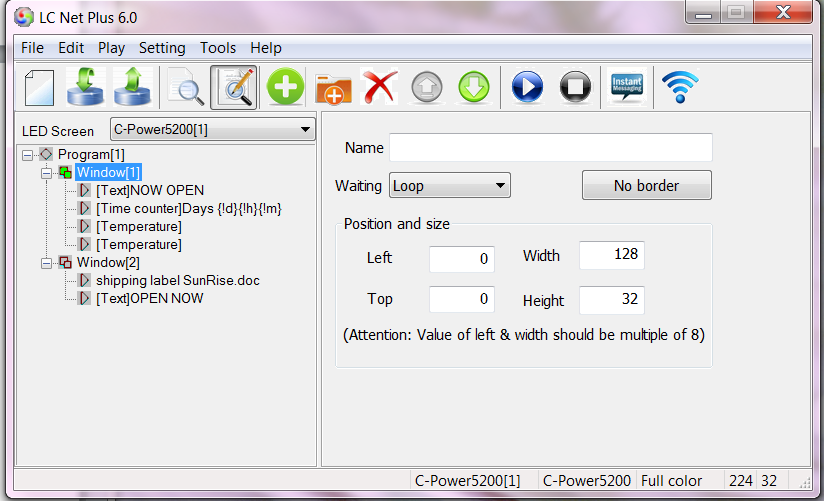
• You can also change the size of your preview screen by clicking on “SETTING” then clicking on “OPTION”
Create Play list TEXT
1. Click on the text box to create text
2. Enter text and use text editing features like centering, left, right and designate the font type and size, color and background
3. Click on the effect box to give your text a play effect like scroll for flash
4. Click on “set row spacing” to position your text
5. You can also choose the speed and stay time of your message
6. Click play to preview your created message before sending it to the sign
Play Items Time, Temp, and Graphics
- Right click on Window to add item
- Choose the time, format (year, date, day, etc.)
- To display temperature, click on the “red temperature icon”
- Right click “window” to add a graphic, click “add play items” then locate and choose a graphic from your file. LC-NET Plus supports most graphic files and most video formats as well.
- Once you’ve completed the messages, click the “send data icon” and choose “send to current” to send your complete message to the sign
- To add additional messages, graphics etc. simply repeat these 5 steps.


